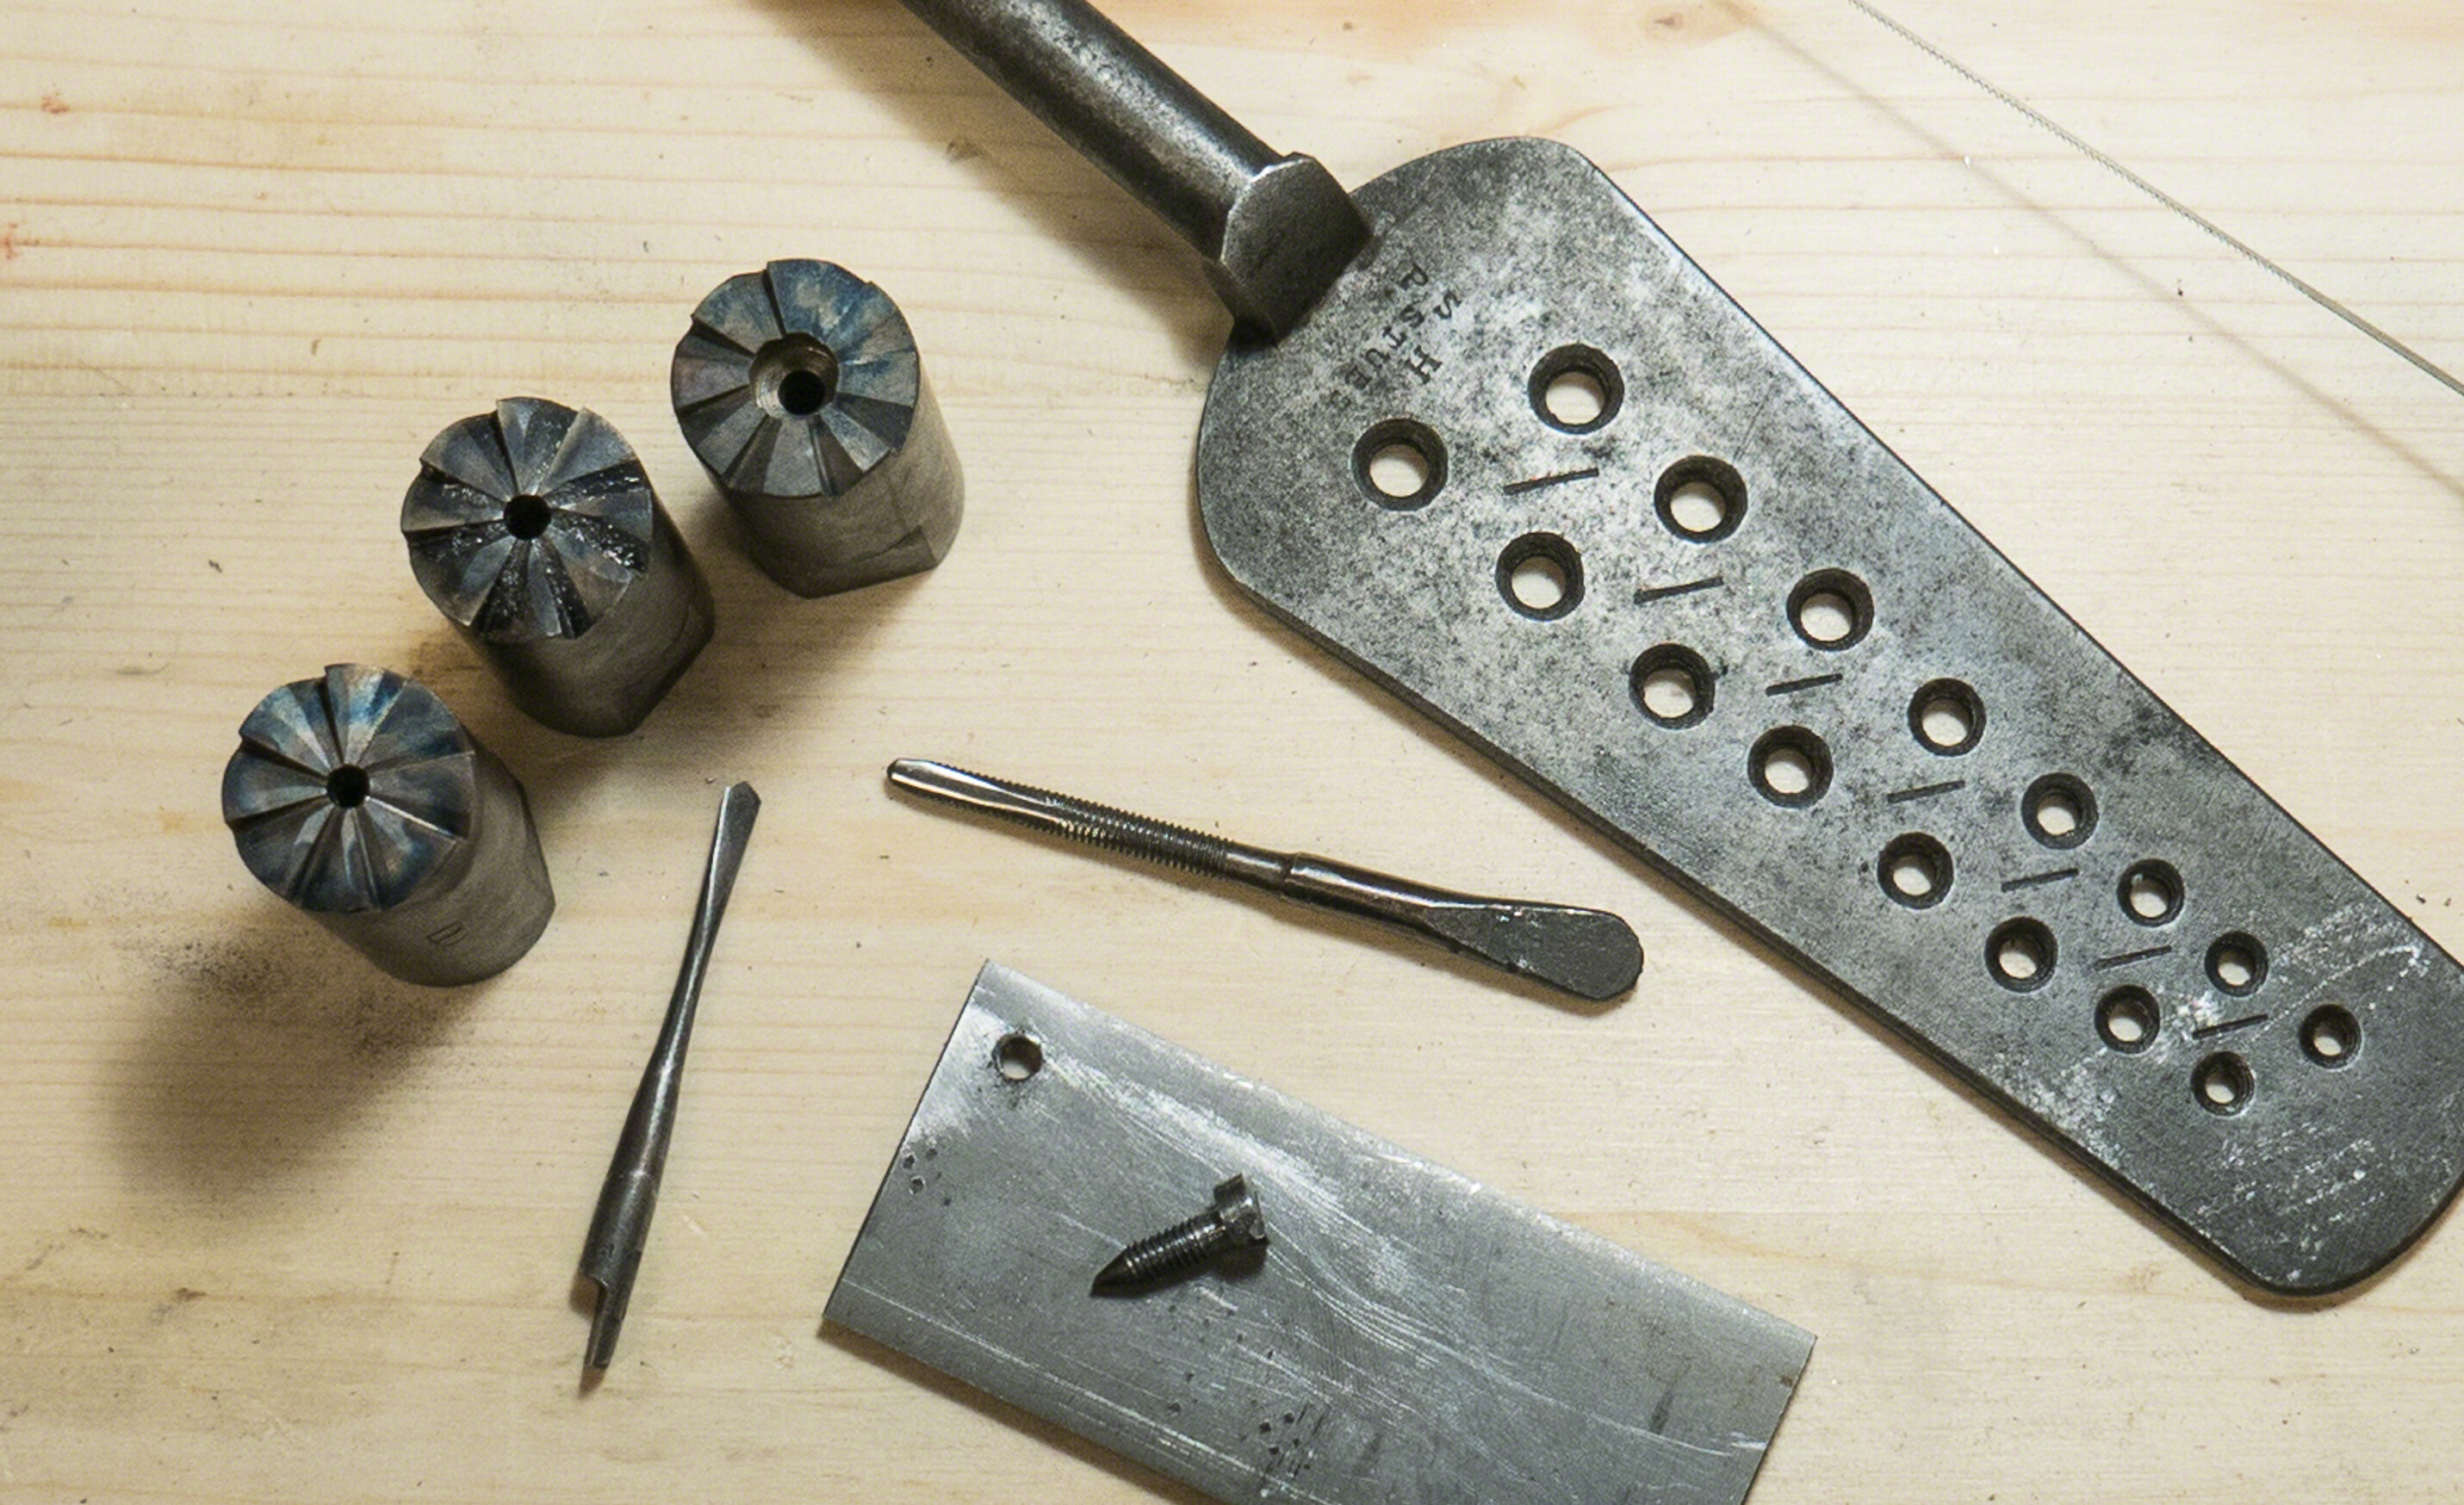
I just added a few more 18th century gunsmithing tools to my tool kit. One is a pristine early screw plate, probably from the late 18th century or early 19th century. I don’t think this thing has ever been used. It appears to still have the temper colors on it. At least it did, until I started using it ;).
The other tool is a square shank circle cutter for use with a brace. However, I didn’t buy it as a circle cutter. I thought that with the addition of an appropriately sized dowel on the center point as a pilot, I could use it to cut circles on the muzzles of barrels. Southern longrifles were often decorated on the muzzle with engraved circles, and stamped circles and stars. I had been meaning to make one as most of the ones in period gunmakers’ tool boxes were apparently homemade. However, I saw this thing on ebay for less than $20. I snapped it up as quick as I could. I had never seen one before and didn’t know any such thing existed as a commercial product.


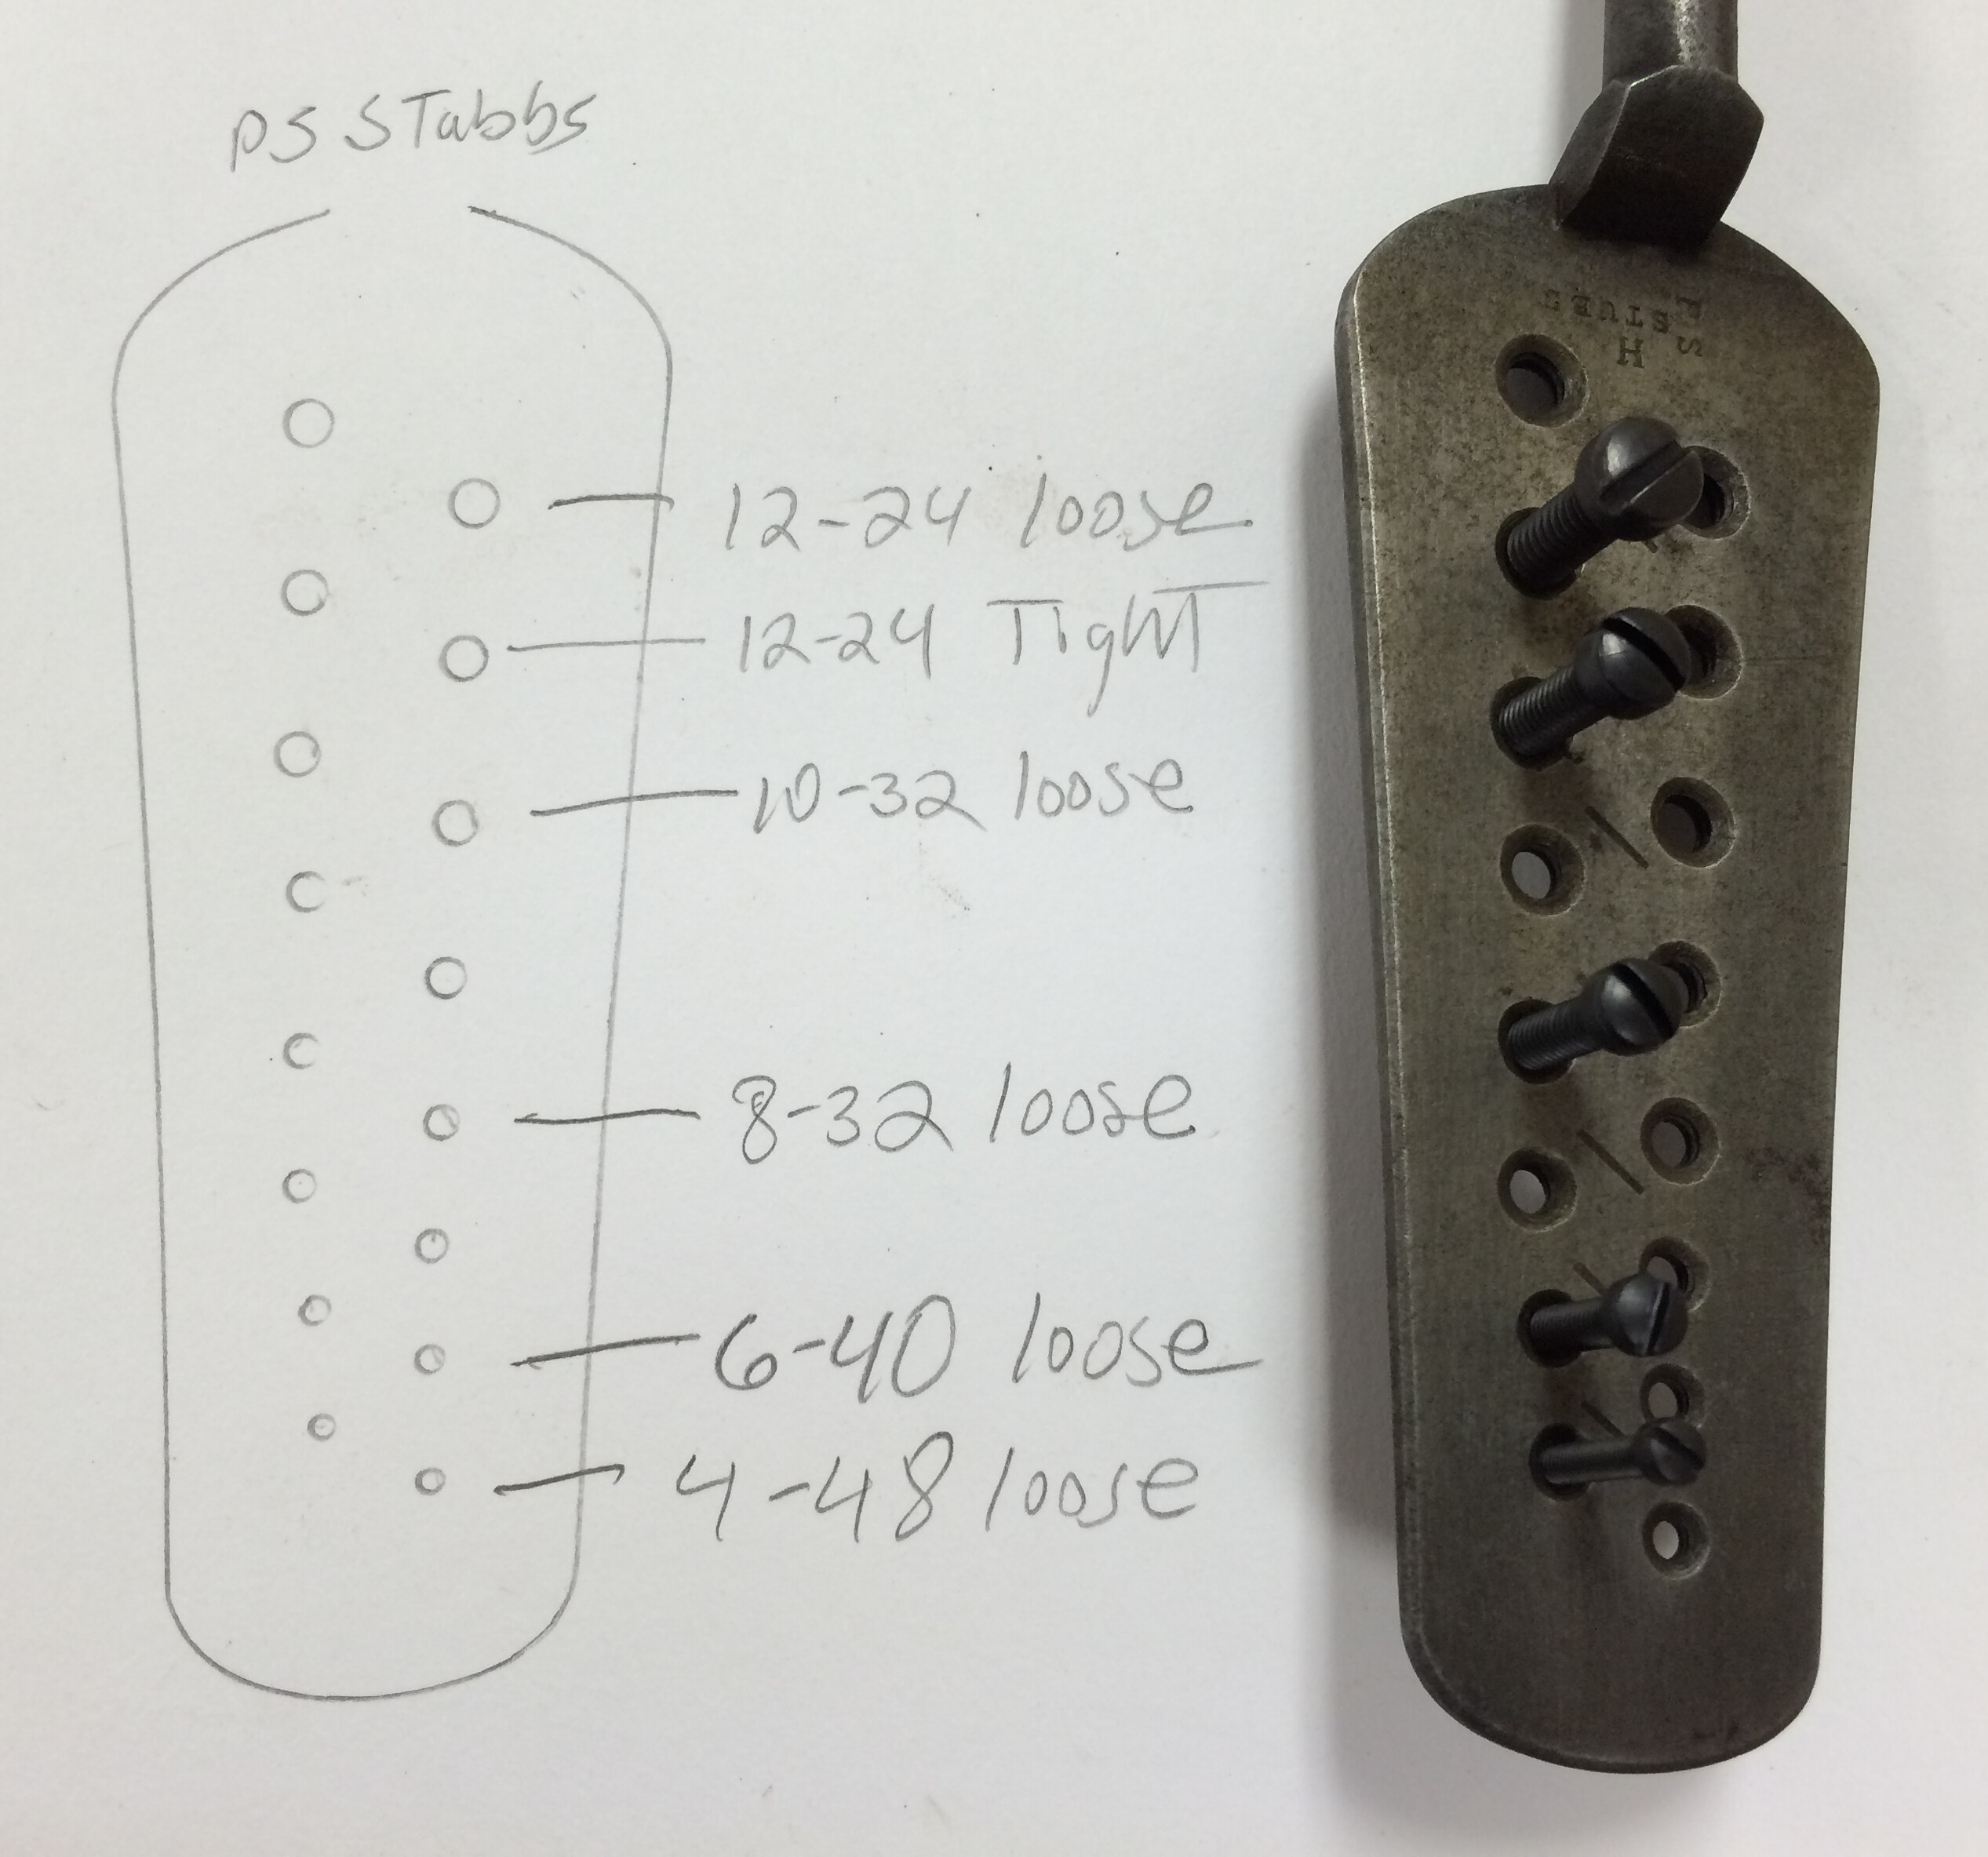
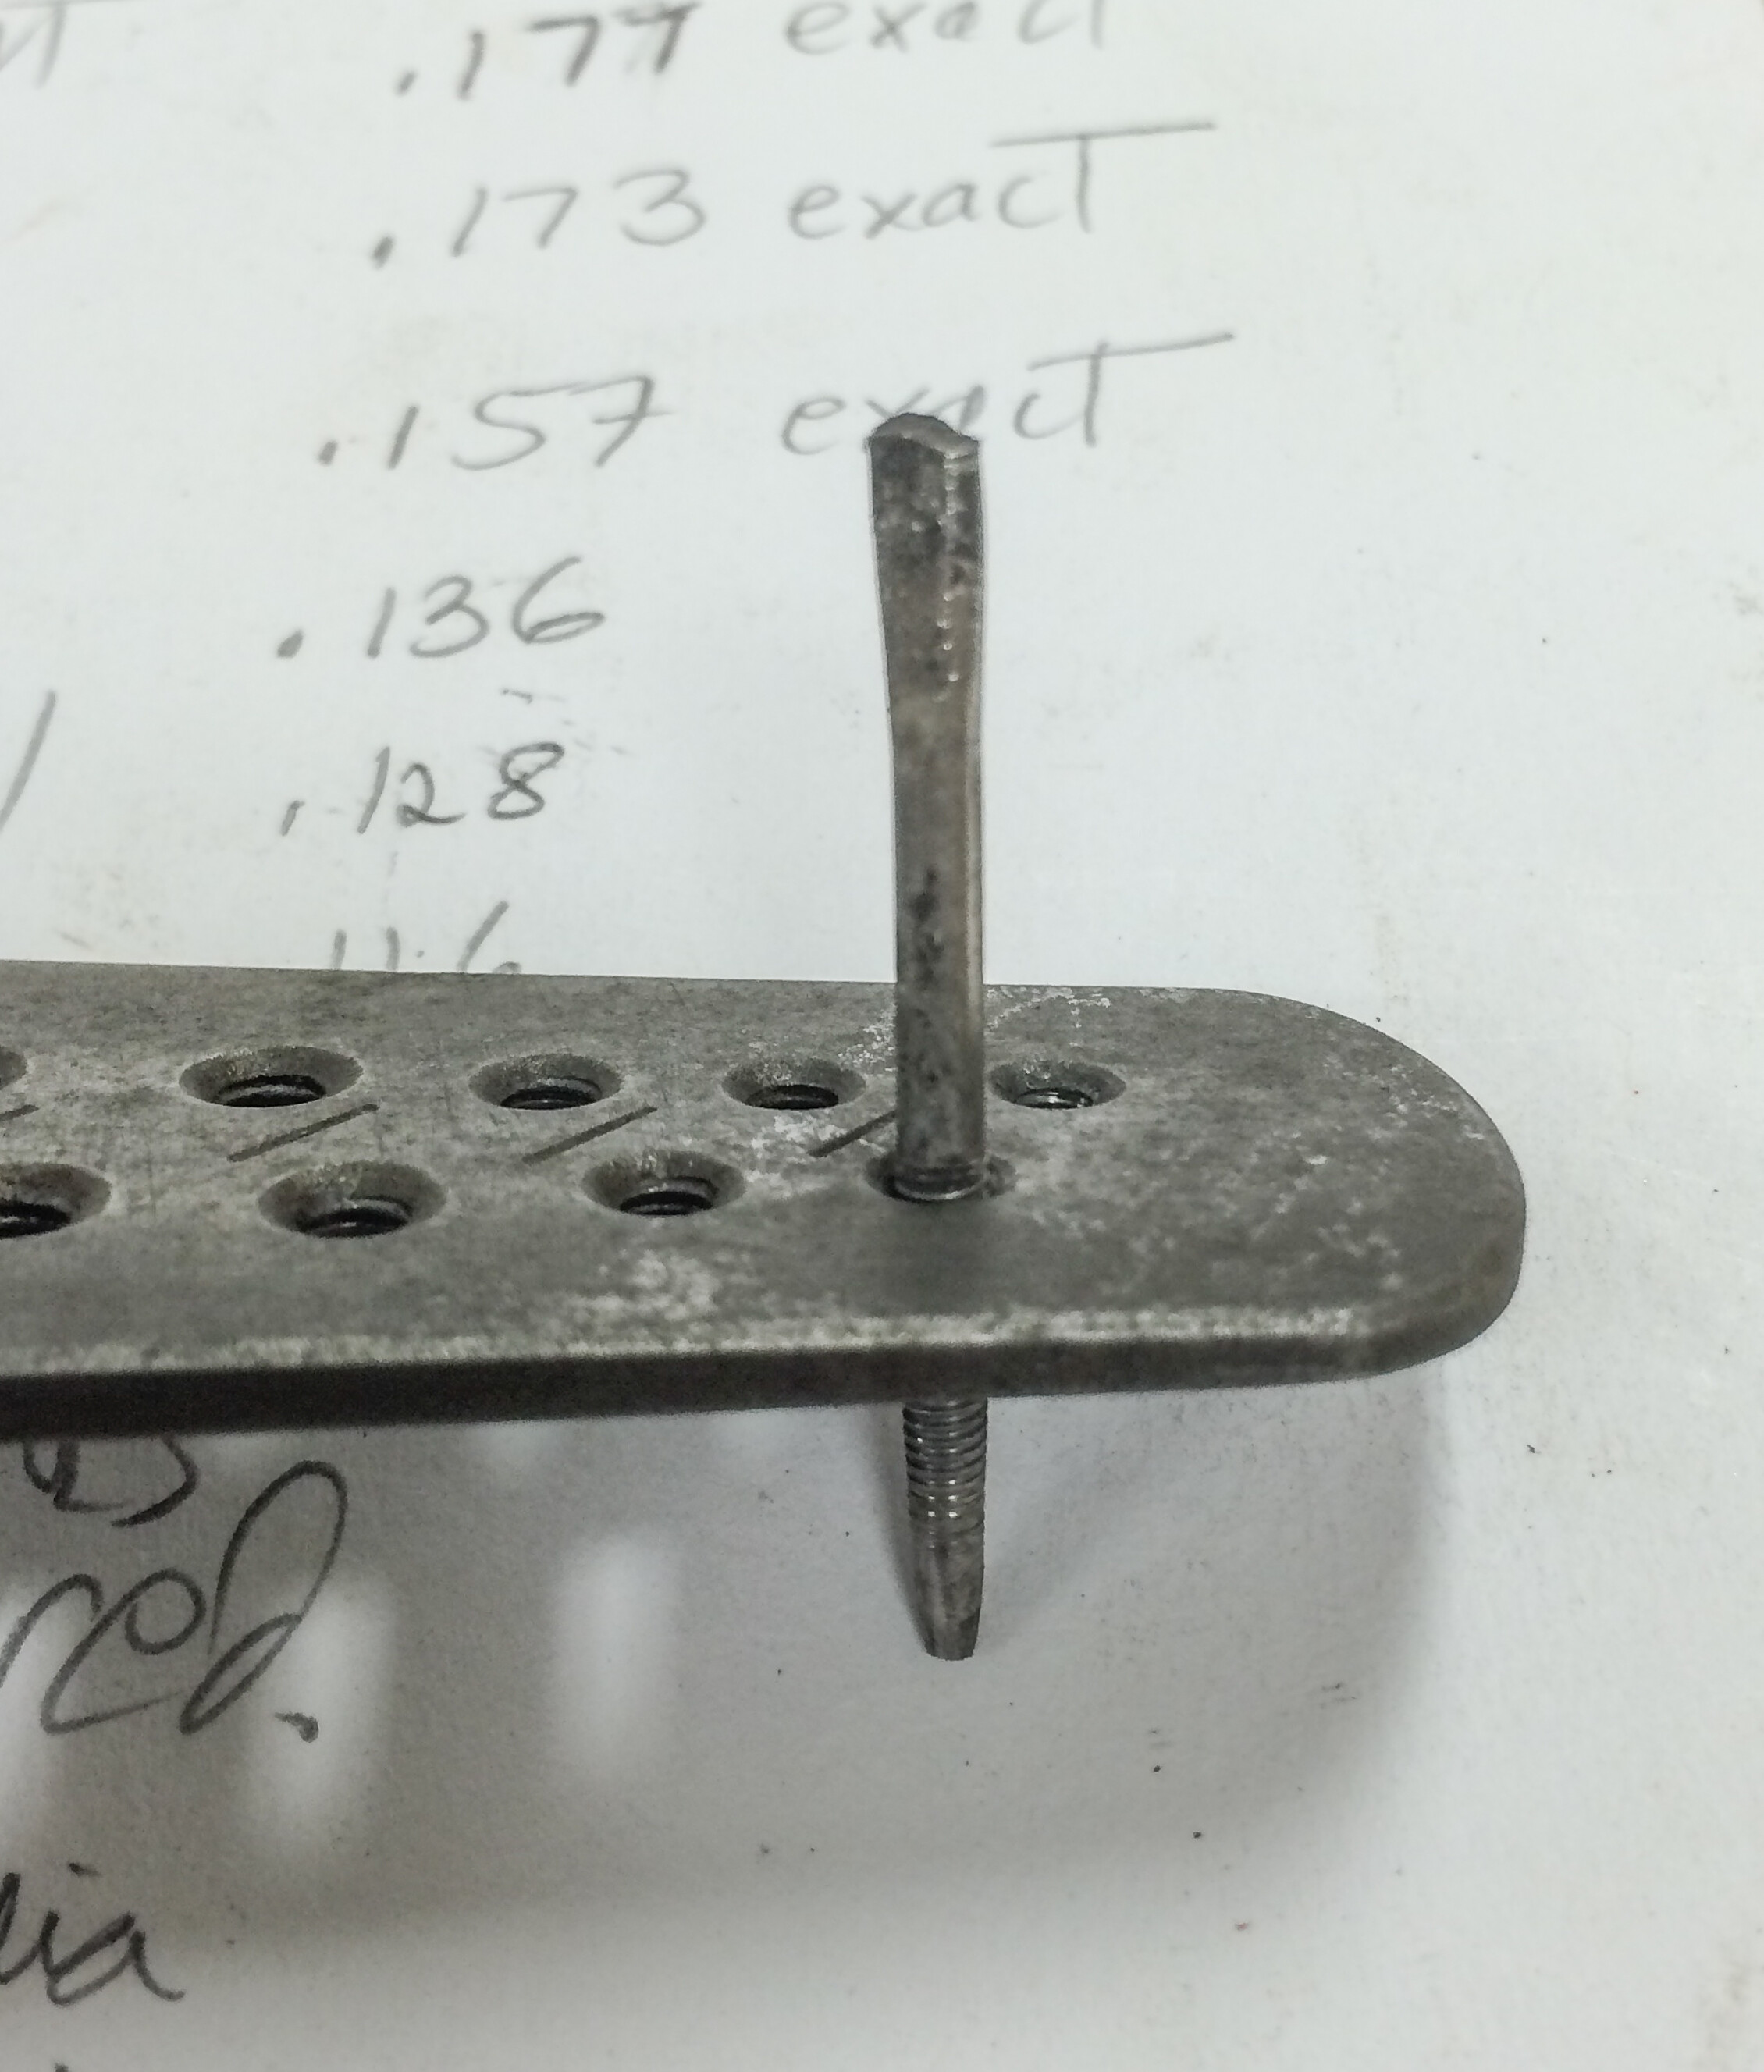
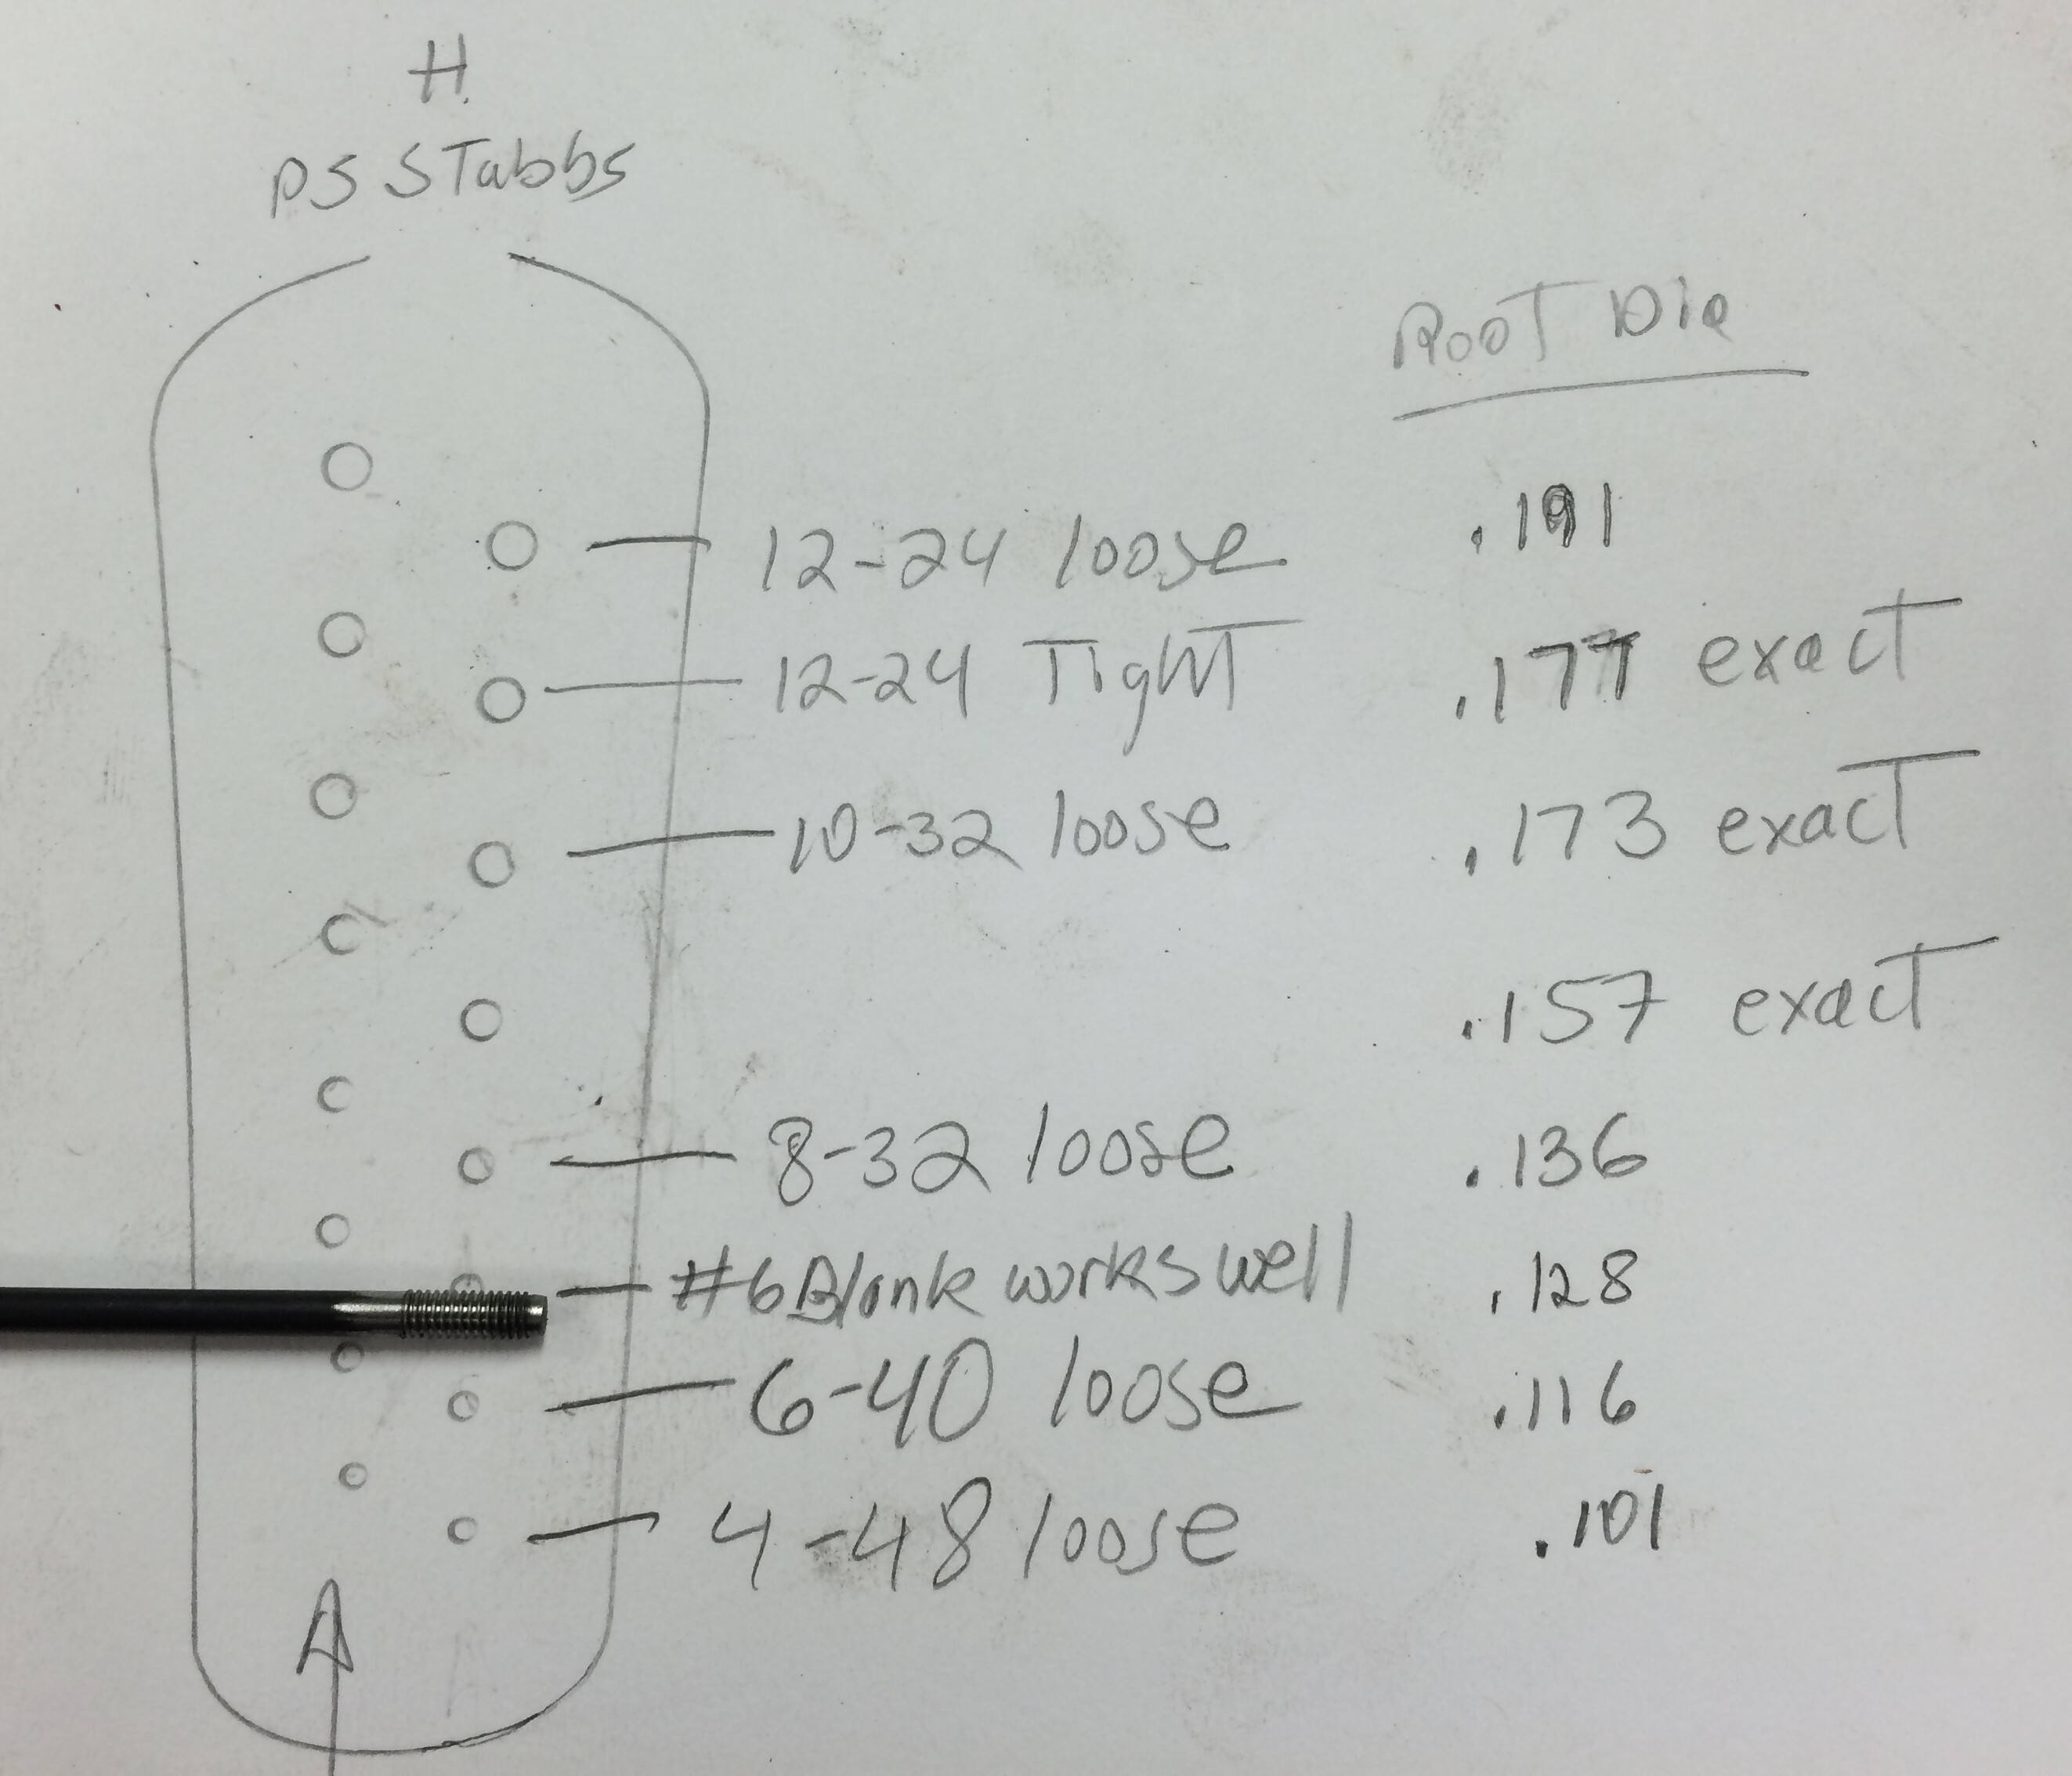
Anyway, I have learned that the screw blank needs to be smaller than I would normally think due to the expansion from swaging; and that I need to be very careful about the pressure I apply.
It is starting to look like a blank that fits in the next hole up is about the right diameter for swaging the thread in the chosen threaded hole.


A nice screwplate, I have an assortment that I have picked up for clock restoration. As you now well know they take a little practice and I’m glad you were able to remove the broken bits from the holes. It is very common to find these things with a few plugged holes. In the future using a brass rod to determine the optimum diameter etc. will make things a little easier.
The reason for the side holes at each station on these plates is not to collect swarf, there is no swarf generated as these screw plates swage the thread onto the screw,it is there to saw through the broken screw shanks. Your theory of using the thread core dia of the next size up is right, if you turn to a snug fit, then turn the screw plate on to that, it with swage the screw to the correct size, the diagonal threaded hole which appear to be the same are there for making a tap, choose the larger of the 2 to make your tap, the new screw will then fit the tapped hole. Good Luck!